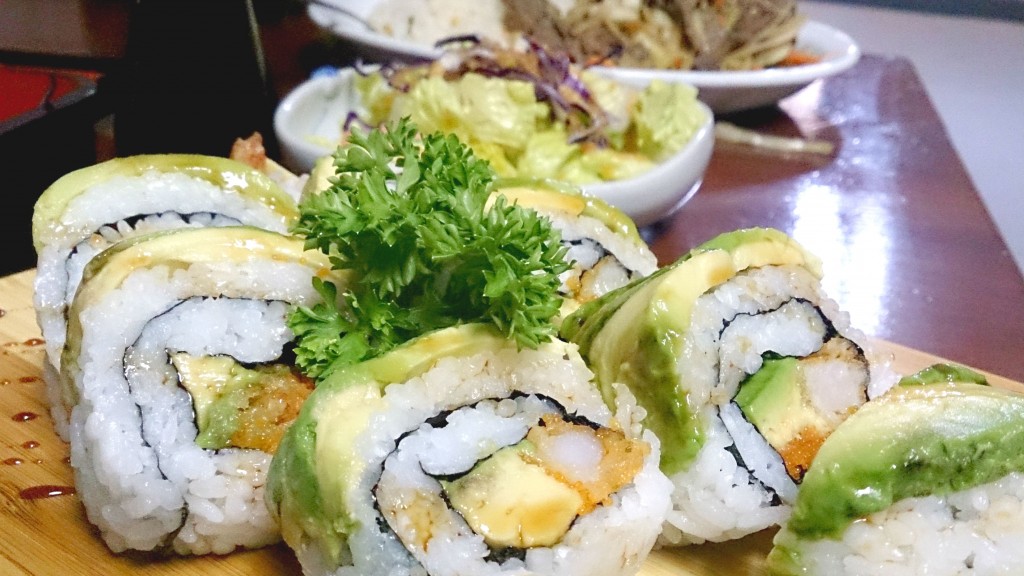
The Poplar Hill Sushi Roll at The Country Spot.
You have to understand. I live in a little hamlet of a little more than 100 homes. There’s a park and a restaurant The Country Sport, that’s it.
No,w the closest sushi is only a 20 minute drive away, but in the middle of a Canadian winter, It might as well be at the North Pole.
So while there was a bit of wariness when word spread the restaurant in town was changing hands, it’s turned out to be a wonderful thing.
I’m both happy for the family that used to run it, who were looking to do something new, and for the new family in town.
The new folks have been smart about it too. They know people are resistant to change. So the menu – standard breakfast, burgers and other solid diner fare – is almost entirely the same, except for the magical page of Asian goodness.
Bibimbap, bento boxes, sushi and bulgogi – it’s a wonderful blend of Korean and Japanese dishes – not many, just the essentials, and so far all delicious!
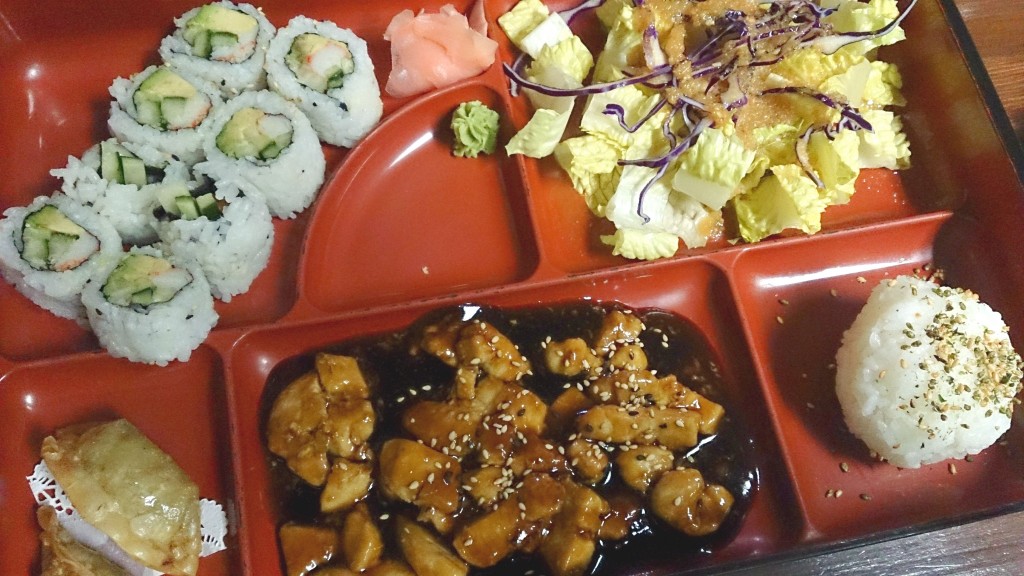
The chicken teriyaki bento box at The Country Spot.